
Planting notes
- EPA WaterSense recommends grouping plants with similar water needs into “hydrozones,” and always separating turf from shrub areas.
- In midsummer, the east and west walls of a house receive the most sun, so shade planting should focus there first, according to Building America research.
- Mulch three to four inches deep suits most plants, EPA says, with a few inches of space left around trunks.
The most beautiful yards rarely happen by accident. They start with a plan that fits the site, the climate and the way the household actually lives. You do not need design software or a degree: a tape measure, graph paper and a few weekends of watching your yard will get you most of the way.
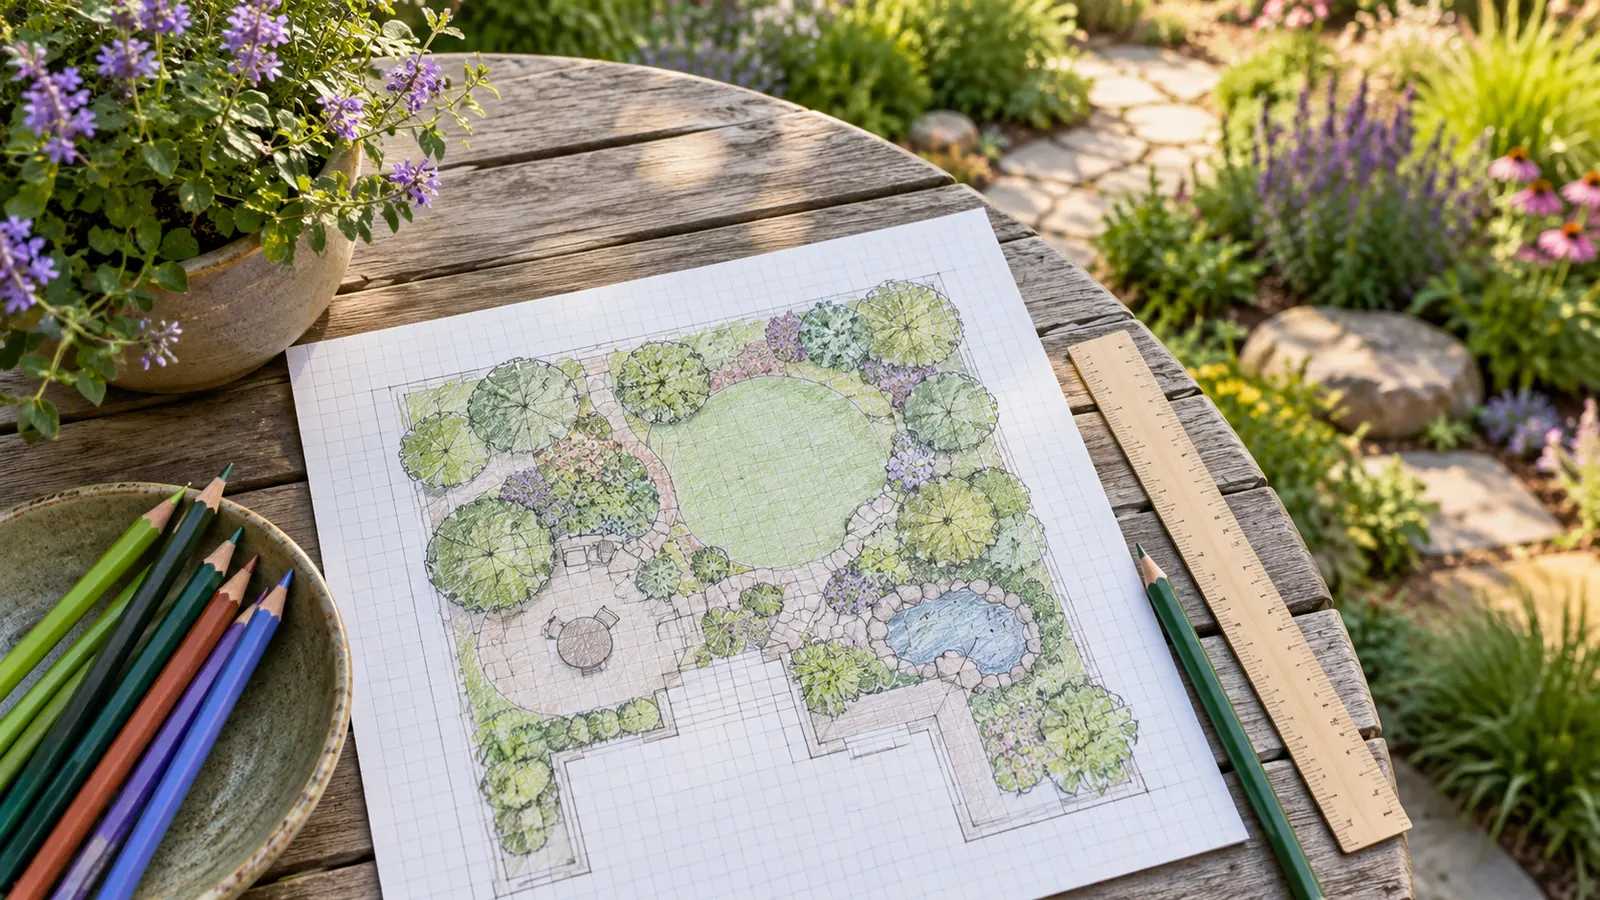
Step 1: Measure and draw what is there
Draw your lot to scale on graph paper, for example one square per foot or per two feet. Mark:
- the house, with doors and windows;
- driveway, walks, patio and fences;
- existing trees and large shrubs, with the spread of their canopies;
- downspouts, spigots, the air conditioner and utility meters;
- slopes, low spots and places where water stands after rain;
- property lines and any easements.
Make several copies. You will sketch ideas on the copies and keep the base map clean.
Tip: Before you plan any digging, find out where buried utilities run. EPA’s rain garden guidance specifically warns that you need accurate information about underground utilities before you begin to dig. Use your state’s call-before-you-dig service before any shovel goes in.
Step 2: Decide how you will use the yard
EPA’s WaterSense program suggests starting with the primary use: lawns for children and pets to play, shade trees to keep the landscape cool, colorful plants for curb appeal, space for entertaining. List what you need, such as a play area, a vegetable bed, a place for bins and a path to the shed, and draw rough “bubbles” for each on a copy of the base map. Keep busy areas near the doors and quiet ones farther away.
Step 3: Read sun, shade and wind
WaterSense notes that areas of the same site can differ a lot in sun, wind and moisture, and that a shade-loving plant placed in open sun will struggle. Watch the yard at several times of day and mark full sun, part shade and full shade.
Orientation matters for comfort and energy too. Building America, a Department of Energy research program run by Pacific Northwest National Laboratory, explains that in midsummer the east and west walls of a home get the most solar heat, while in winter the south side gets the most. It recommends focusing shade first on east and west walls and windows, then on the south. It also suggests evergreens on the north side to cut cold winter wind without blocking winter sun. See Landscaping for Energy Savings: Shade Trees and Windbreaks.
Step 4: Know your climate and soil
Two quick checks shape every plant choice:
- Your USDA plant hardiness zone, which tells you which perennials are likely to survive your winters. See Find Your Hardiness Zone and What It Really Tells You.
- A soil test, which tells you pH and nutrients. WaterSense recommends testing for nutrients, pH, composition and organic matter through your local Cooperative Extension office. See Test Your Soil Before You Plant: A Homeowner’s Guide.
Then read the article for your region below for rainfall, heat, frost dates and local risks.
Step 5: Group plants by water need
This is the step that saves the most water and work. WaterSense recommends grouping plants with similar watering needs into “hydrozones,” so each zone can be watered to its own needs instead of drowning some plants and starving others. It says turf and shrub areas should always be in separate zones.
| Hydrozone | Typical plants | Where to put it |
|---|---|---|
| High water | Lawn used for play, vegetables, annuals | Small and close to the house and the hose |
| Moderate | Mixed shrubs and perennials | Foundation beds, patio edges |
| Low or none | Natives and drought-tolerant plants matched to your climate | Outer areas, slopes, along the street |
WaterSense also suggests placing lawn where it has a practical function and choosing a low-water turfgrass suited to your climate. Native plants, once established, often need little water beyond normal rainfall.
Step 6: Plan hardscape that soaks up rain
Paths, patios and driveways shape the plan as much as plants. WaterSense examples use gravel paths, pervious pavers and permeable patios so rain soaks in. Building America adds that roofs and pavement in the sun can run 50 to 90 degrees Fahrenheit hotter than the air, so less pavement, lighter colors and shade over paving keep the yard and the house cooler. Where a downspout or slope sends water across the yard, consider a rain garden, a shallow planted dip that lets runoff soak in.
Step 7: Slopes and erosion
WaterSense advises planting slopes with deep-rooted native ground covers and shrubs to hold soil. Avoid lawn on steep banks: it is hard to mow and sheds water.
Step 8: Choose plants, then mulch
Pick plants for each zone that suit the sun, soil and water there, at their mature size, not the size in the pot. Leave room for trees to grow. Then mulch: EPA says three to four inches suits most plants, that too much can keep water from reaching roots, and that organic mulch should stay a few inches away from trunks and stems to prevent rot.
Step 9: Phase the work
Few households do everything at once. A common order:
- Year one: grading, drainage, utilities, paths and trees, which take longest to grow.
- Year two: shrubs and foundation beds.
- Year three: perennials, ground covers and finishing touches.
New trees and shrubs need regular watering while they establish, WaterSense notes, after which watering can be reduced or stopped.
The bottom line
Map the yard, decide how you will use it, read the sun and soil, group plants by water need and build in stages. A plan like that adapts to any climate. For what works in your part of the country, start with Landscaping in the Northeast: Four Seasons, Deer and Snow, Landscaping in the Desert Southwest: Water, Heat and Shade or any of the other regional guides.